Welcome to Gull's own Battleground Blog!

This is my personal space about YMG's Battleground: Fantasy and Historical Warfare miniatureless miniatures game. If you love miniatures wargames, but are put off by the expense in time and money of collecting and painting all those figures, this is the game for you! If you are unfamiliar with Battleground simply click on the tutorial link below and watch a quick sample combat. Next, click on the forum link and meet some really great folks who will be responsive and answer all your questions. If you are already familiar with BG:FW&HW this site is an adjunct to the forums where I put up my own brand of replays and and stuff that just wouldn't fit in the forum (but I'll post links!).

Thursday, December 30, 2010

Solitaire Scenario Development 2

I'll first recap the battle and then I'll revise the scenario.
At the start of the battle we have a force of eight Dark Elf units who have found the source of the undead that are plaguing the countryside and have been dispatched to the scene
The initial force has, in addition to the forces depicted, a command card and one pain touch. A useful way to save on comand actions is to have Standing Order modifiers on all units, as far as possible. Often, after setup when the opponents deployment is known, one wants to shuffle the line a bit (maybe a lot!) and this is best done with order modifiers in your standing orders. In this case I have the drake riders on the far left flying all the way across the board and Holding to the left of the spawning ground. I have since discovered I was incorrectly leaving the Drake riders in the air on hold. According to the rules the flying unit must land to "Hold." The lash mistresses next to them are moving diagonal to the left and the Half-blood levy are moving directly diagonally right to be directly in front of the main line. The lowblood levy are moving to hold where the halfblood levy started and the low-blood levy on the right will move ahead to where the coven is if they move from their start location. The Dusk Lord is set with Range, but I have forgotten to write it in at this point.
 On turn 1 the undead move first and the zombies shamble forward and since there is no unit in the woods another zombie is spawned. The DE start moving into position.


The Dusk Lord has fired his spell at the lead zombies and caused 2 wounds.

Turn 2 sees yet more zombies and more Dusk lord zaps, though they cause no wounds.
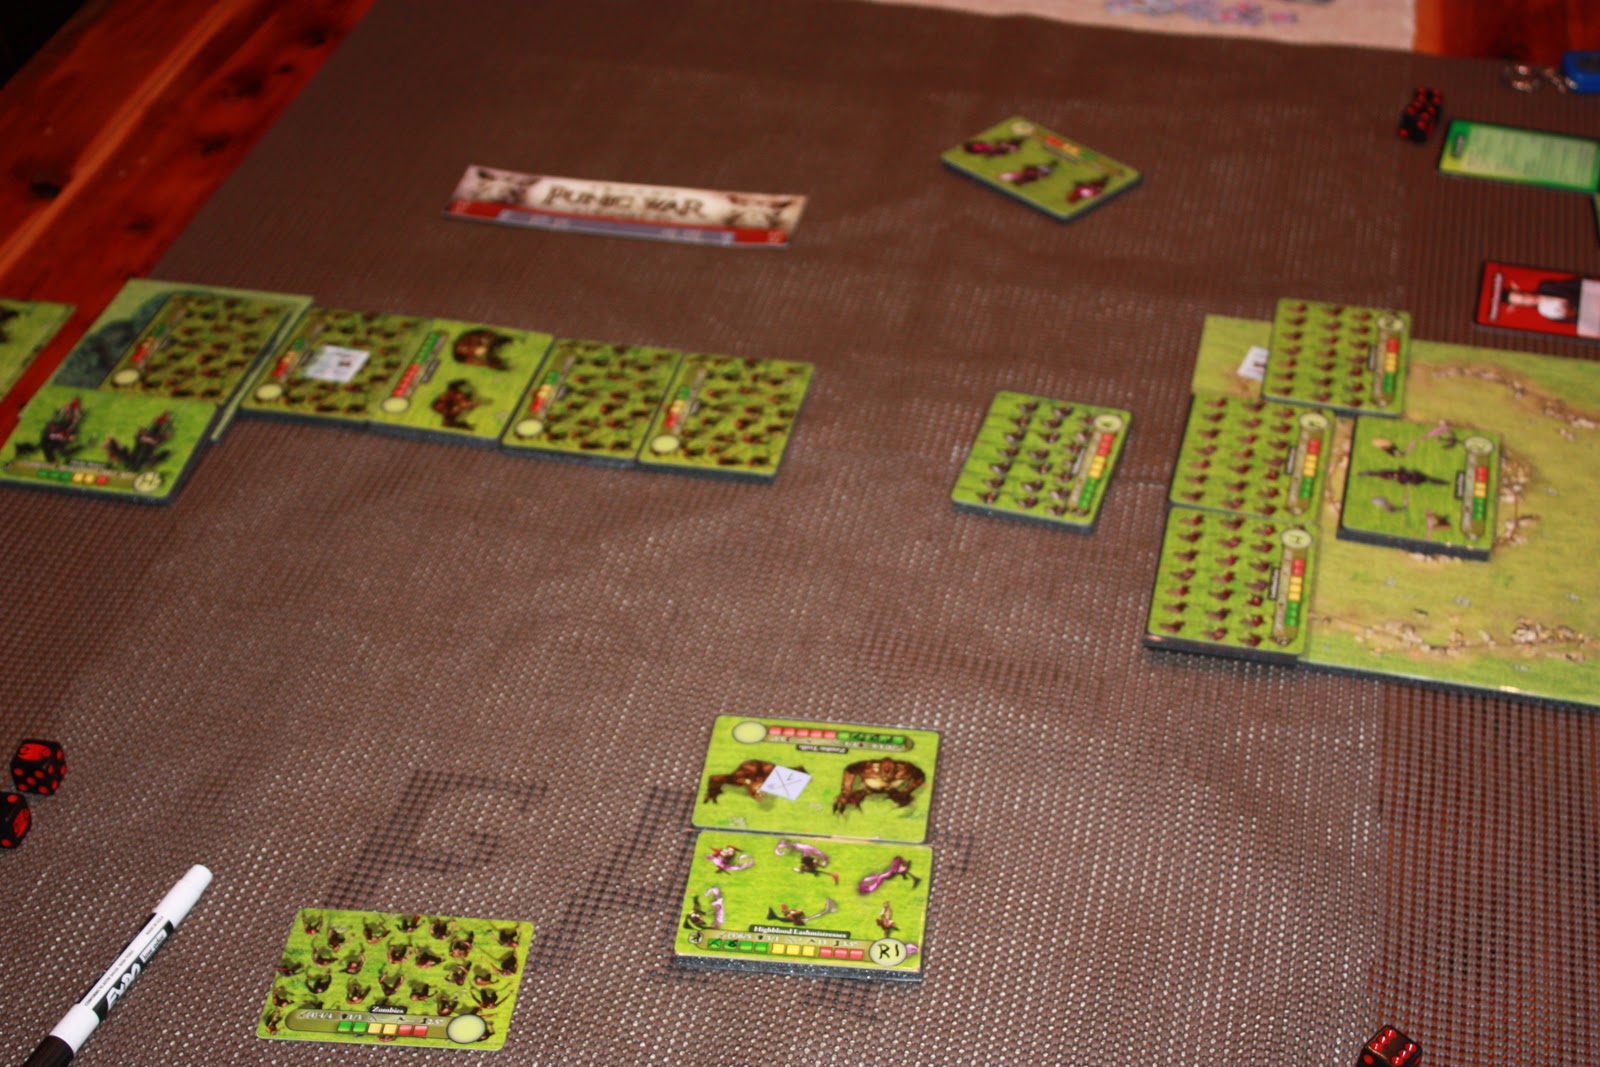
A close up of the disappointment, they needed 3's to wound. Undead vs. DE is interesting because the zombies are really tough and the DE are paper thin, but the skills are also similarily matched.
Turn 3 sees the emrgence of some Troll Zombies. In the next two pictures I had inadvertently switched them ahead and later you will see them in their proper place. Of interest here you can see that the Lash Mistresses halve lured a unit of zombies away from the main DE army.
By turn's end they have destroyed 2 zombie hordes, but more are on order.
 Flash forward to trun eight and we see that the mistresses have pulled in a big one! The coven can be seen moving off to a new location and the Low-blood levy behind can finally move up to and occupy the hill as per their initial SO.
 By turn nine the zombies are all around charging and the Dark Elf commander has realized that there is no end in sight so he orderd the drake riders to storm the spawning ground.
A turn later we see the zombies have been destroyed by the half-blood levy (with coven assistance) and that The drake riders are locked in combat in the woods. As long as there is still an undead unit in the woods they do not spawn any more, so the tide has been stemmed.
And with the demise of the zombies we have the game end.

4 turns of combat and only ineffectual damage!

My original thought was to have the next undead unit appear with the occupying unit in the spawning woods where they would just fight regular melee combat, this continuing untill all other undead units were destroyed, but that just makes the game too darn long! I also had to add a rule that said when a unit defeated the undead unit in the woods it occupied the woods or else the game would never end.

                                                         Summary Observations
First off, I had originally thought that the game would end when the spawning area was occupied and all the undead were eliminated, however, as I was kind of taking a wait and see attitude with respect to engaging the Undead, by the time I had occupied the woods I just called the game as I was in no position to quickly overcome the rest of the horde.
So my rules for the scenario thus far would be:
The Undead start with a zombie in the woods. The woods will spawn a new undead unit every turn that there is no unit in the woods at the end of their turn. The opposing army takes the first turn which is only shooting and then the zombies get to move in their turn. Zombies have no Command Actions and may not re-animate. The Undead Army is placed in a pile in this order: zombie horde, zombie horde, zombie horde, Zombie Trolls, zombie horde, Zombie Trolls, zombie horde, Zombie Trolls, zombie horde, Zombie Trolls, zombie horde. When an undead unit is destroyed put it under the pile at the board edge and it will spawn when its turn arrives. If all the undead are on the board then none will spawn.
The player wins by occupying the spawning grounds and stopping the spawning and destroying all spawned undead. When a zombie unit is destroyed in combat in the woods a unit that was attacking it occupies the woods and at the end of the next zombie turn a zombie appears on top of the unit and they fight a combat as though they were in front to front contact and had not charged. A player may have other units adjacent to the units in question and they get pinching bonuses. If at the beginning of any undead turn there are no undead on the board the spell is broken and the player wins.

Other Observations:
This is a good scenario for learning about a faction and what its strengths and weaknesses might be as well as good practice at controlling and maneuvering your army. You know what the undead will do, given that knowledge, how can you most quickly and efficiently stop the spawning? How will your tactics change if you place a hill in the center? you could place any terrain you'd like and just place the woods in the undead setup area to be the spawning ground.

Wednesday, December 22, 2010

Solitaire scenario development

I naively thought I was going to post a new solitaire battle scenario re-play tonight. What I think is going to happen is that I will post the design and development of a scenario.

Basic concept: A scenario that will lend itself ideally to solitaire play. Have an area that generates undead units that the player must destroy or fight through to stop the spawning process. I am hoping to capture the frenetic pace of a zombie invasion that can quickly get out of hand if not handled successfully.

Here is the basic set-up: A 2000 point Army (Dark Elf in this example) and three spawning points (Woods). The Undead move first and at the beginning of their turn one die is rolled for each spawning point. The die result generates a unit whivh is placed front edge at the front edge of the woods terrain and the unit is on Close. I have piled the unit types on the side for easy reference.  From bottom to top you have 1=Zombie trolls, 2=Skeleton Trolls, 3=Ghouls, 4=zombies, 5=Skeletons, and 6=nothing. On turn one I rolled two 3's and a 6, so there are ghouls coming out of each woods top and bottom and nothing in the middle. The player gets 2000 points and moves second. Here I have assigned the woods objectives ranging  from one at the top to three at the bottom. My four Levies are going for their opposite woods with the center two going for the center woods. Once a unit occupies the woods it stops spawning. If a unit is in the woods it heals a wound if Undead or it loses 1d2 wounds if it is the player's faction. If all woods are occupied the player wins the game as the spawning spell is broken.

           At the end of the first turn it looks like this:
The Dark Elf army is composed of:
1 Dusk Lords
1 Drake Riders
1 Pureblood Coven
1 Lashmistresses
1 Halfblood levy
3 Lowblood Levy
1 Premeditation
1 Card
1998 points


At the end of turn one the Drake Riders are seen heading off to their objective which is the corner of the map and the ghouls at the bottom of the photo have taken three damage from the Dusk Lords.

                                                         Turn 2 sees the general engagement joined!

The Lashmistresses have pulled the Skeleton Trolls that were generated this turn into the Lowblood Levy and set up a pinch next turn by the other Lowblood Levy.


Things are going well, but....


Turn three sees another three units and one of those is another Skeleton Troll!
I can see where this is going and decide to end it here and go back to the drawing board.

First play summary thoughts:
It may be hard to believe, but I originally had four spawning sites! After a moment of rational thought I realized that four would be way too much. Now I see three is way too much. Two might be the magic number, but I think I will try one next time. I like the Player's starting set-up, I just need to tweak the Undead. I was thinking of reducing it to only a 50/50 chance of something spawning, but that puts too much to chance. I don't want the game decided based on spawning rolls, but I want enough variety in the spawns to make it interesting.
One thing that would break it with only one or two spawning sites is that a Dark Elf player could buy one or two Drake Riders and just land on the spawning sites, BOOM! Game over! I need to come up with a way to prevent that, besides just saying "you can't do that."

Tuesday, December 21, 2010

Tuck Box Blue Print

Here is a tuck box blue print. It is drawn on a 1 inch square graph paper. If you have trouble reading my handwriting it says 5 1/2" and 3 3/4". The brown lines are for cutting and the green lines are for scoring. Notice on the tabs in the center you make two 1" cuts and to the right you make one 1" cut and the horizontal is scored.

Terrain Bases et al.

                      I've decided to add card sleeves to my bases and foam core to my terrain.
 The tape is two sided poster tape, one side sticks like tape and the other like post-it notes, but a little stronger.            

                Here is the Dwarven player's eye view of the Dwarven defensive position.
                You can't even see the card sleeves once the cards are in them!                                               


                                       And here is the opponent's eye view.

When I cut these bases out I just measured one of each size and cut a few of each. They don't match up very well so I am going to trim them down a bit and cut some others to exact proprtions. As soon as I get to The Source (MFLGS) I'm going to pick up some blank unit counters and mount the counters that I printed from the site with the link to the right marked "needful game markers."

The main benefit to the unit and terrain bases is the added stability. No more cards and hills floating around. The other benefit is that it just looks cooler!

Monday, December 13, 2010

Lizardmen vs. Orcs trial scenario

Journal of Shree

We were dispatched to relieve our beloved city Ssral-Alass from the siege of the hated Orcs. Two days out our Raptor scouts reported an Orc force escorting one of their Goblin Bomb Chuckers to the forces sieging Ssrak-Alass. The machine could move but slowly and if we were to intercept with strength we were sure to bring about their ruin.

Immediately grasping the necessity of preventing this machine from joining the besiegers, I sent the Raptors out to harrasss them and hopefully bring them to ground where our heavier Tyrants could surround them and finish them off.

The Scenario set up looks like this and is composed of:
Lizardmen 1982points                           Orcs 1493
4 X Tyrant Warriors                              4 X Orc Crossbowmen
2 X Raptors                                          1 X Goblin Bomb Chucker
2 X Command Cards                            5 X Command Cards
Total Elimination If the Bomb chucker is destroyed the game ends immediately and the Lizardmen win.
Setup
To prevent the Orcs from escaping the Lizardmen have surrounded them. This is reflected in the setup which requires that all four board edges must have at least one unit edge touching them. All Lizardmen units must have at least one edge touching a map edge. All Lizardmen must start with a C SO and the Goblin Bomb Chucker (GBC) as its unit objective.
The Orcs must setup with the GBC in the center on top of the hill and all other units must be at least 7" from any map edge.

Turn 1:
The Orcs go first and fire at the advancing Lizardmen with their crossbows. This results in one damage. The GBC does 3 damage on a tyrant.

Sure enough, the Orcs set up a defence on  a lone hill top. Unfortunately, by the time the Tyrants were able to surround them they had had enough time to set up their most wicked war machine which played havoc with our ranks throughout the battle.


The Raptors charge first and are met by the Ferocity enhanced Orc Crossbows who need threes to hit!!!     0 hits!!!
We continued to close ranks all around them and their commander could be seen dashing madly about. Here directing the fearful machine, here joining the fray. Of note were the instances where he stood on the hilltop with his great whip, lashing his troops to greater ferocity.

On turn three there is general engagement. Raptor pack passes a morale check. One battle has Orcs with ferocity and eight dice also yield O wounds and another Orc with Frenzy gets 5wounds! GBC causes another three wounds to Tyrants who pass morale check.
GBC turns to face double pinching assault. The double pinch eliminated the Crossbowmen who in turn, eliminate the Raptors. The Raptors on the other side eliminate the Crossbowmen, but must test morale and fail. This is the only failed marale test all game!


The one Tyrant Final Rushes the GBC while the other FR's to its side and engages the crossbowmen who have turned to face. The GBC sirvives the first round of combat, succumbs to the second round, but it never fails a morale check!
In the final instance our Tyrants had pinched a group of Crossbowmen on both sides while our Raptors had them pinned in place on their front. Here the great Orc commander was at his finest. His troops never ran, but fought on. Even with a last effort just before he fell back with a few comerades to defend the machine, he charged forward and eliminated the Raptors that had insured his destruction. But it was not over, he was not done. He ferociously defended that machine. With one hand on his sword he held the Tyrants at bay, with his whip in the other hand he rallied his remaining troops around him until, at last, with a great groan, he fell prey to our renown tyrants. Although our raptors suffered horrible losses and our Tyrants also, as irreplaceable as they are, we destroyed that infernal weapon which would surely have spellt doom for our fair and beloved Ssrrak-Alass.


Saturday, December 11, 2010

My homemade new style tuck boxes

Here is my briefcase o' death where I have all my Battleground stuff. You can see my homemade tuck boxes as well as the Punic Wars and Dark Elves boxes. I also have a box labeled "Dice Plus" that houses my Dice and counters, plus a couple dry-erase pens.
Here is the Monster & Mercenary box next to the Dark Elves
Here is the box open and revealing its contents (to show capacity).

And here is the final reveal all photo.